Instructions for using the WildFireWeb® Content Management System
Using the Image Manager to Create, Name and Manage Directories
When you are ready to begin uploading images for your site, open the Image Manager and set up your directories.
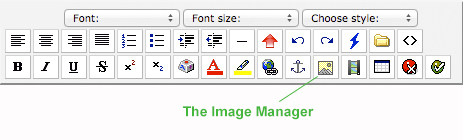
1) Choose from the editor toolbar. (this opens the Image Manager)
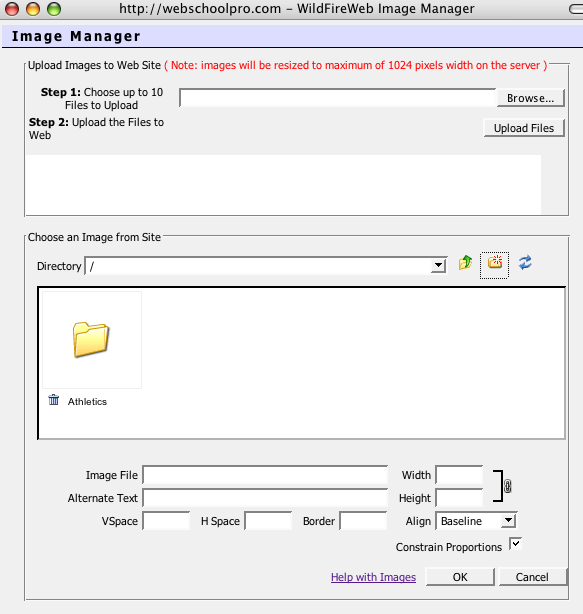
2) In the main Image Manager window, Choose the "New Folder" icon to create a new folder.
3) Type the name of your new folder in the "Folder Name" field
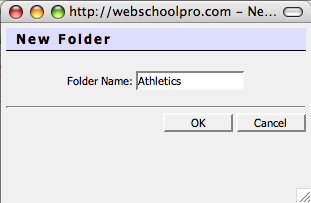
4) After you name your folder, click the "OK" button.
5) Create as many folders as you will need to organize your images for different areas in your website.
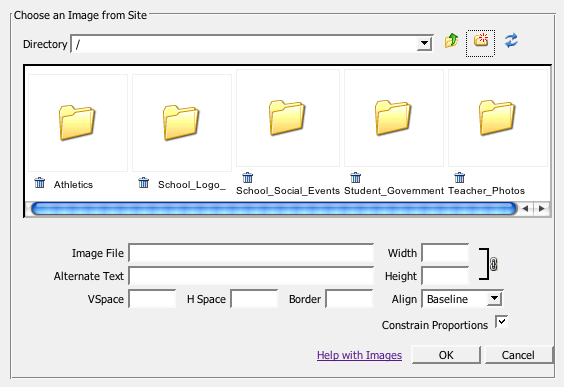
6) Before you upload your images, be sure to "Open" the directory you wish to store it in.
1) Choose
2) In the main Image Manager window, Choose the "New Folder" icon
3) Type the name of your new folder in the "Folder Name" field
4) After you name your folder, click the "OK" button.
5) Create as many folders as you will need to organize your images for different areas in your website.
6) Before you upload your images, be sure to "Open" the directory you wish to store it in.
That's it! You are organized!
